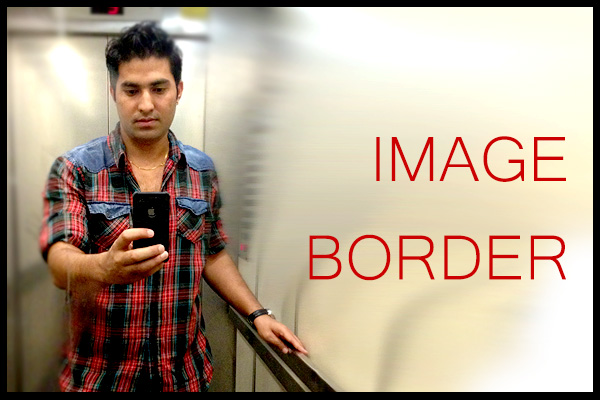
Images are equally important on any of your blog post as like as the text content to describe the scene or demonstrate your thoughts to your readers. Some people don’t like to have borders around image but some like to have blog posts images with a border around it. You can define this on your template of your blog so that all of your future posts will appear with borders. Here is the step by step guide.

How To Make Borders In The Images of Blogger, Just For Once?
1. When you are making a post, click on the “Insert Image”, browse image and upload.
2. Go to the “Edit HTML” tab above the post-editing window to view HTML code of the inserted image.
3. Look for the name of the image you just inserted on the post just now. (you can use ctrl+f to find out the image). It is something like
<img border=”0″ src=”http://2.bp.blogspot.com/-XDP0NIZUWng/VDBwL0CYmkI/AAAAAAAAeaI/1x4UzxDl8Dk/s320/anu.jpg” />
4. In the image’s HTML tag, there is “img border=”0” just change the number 0 to any number like “img border=”1” for small border or “img border=”5” for a little big border. You are done.
But if you want to make border for all the future images of your posts, you should change the CSS of the image code of your blog. Follow these steps to do so.
Read this – If you want to get rid of the blogger’s annoying automatic image border or shadow
How To Make Borders In The Images Of Entire Blog Posts?
1.Go to your Blogger Dashboard – Template – HTML –
2.Look for ]]></b:skin> You can use ctrl+f
3. paste the following code just before the ]]></b:skin>–
.post-body img, .post-body .tr-caption-container, .Profile img, .Image img,
.BlogList .item-thumbnail img {
border:5px solid #000000 !important; }
In the above code you can change the size and colour of the border just replacing the value of border:5px solid #000000
You are done. Now your every future blog post images will appear with border automatically . Cheers!
